oh my, so much has happened since i was last on my blog. i had a baby, moved to colorado, started a new job, and bought a house! phew! so needless to say, while i was still baking and cooking there wasn’t much time for picture taking (well, we took lots of pictures of our baby, but not so much of food) and blog posting. i give so much credit to those who can continue to blog with a new baby and other life happenings! so now that things are kind of settling down, i’ve been getting the blogging itch and i’m back. we’ll see how long this actually lasts, but i’ll do my best.

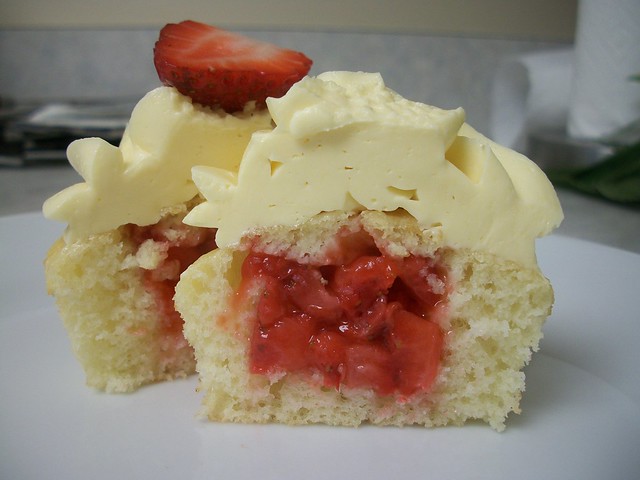
baking has been a bit of a challenge with the enormous change in altitude from dc to denver/boulder. i’ve experienced my fair share of sunken cupcakes and cakes, flattened cookies, messed up caramel, etc. but do you know what has been trusty through and through – ice cream!
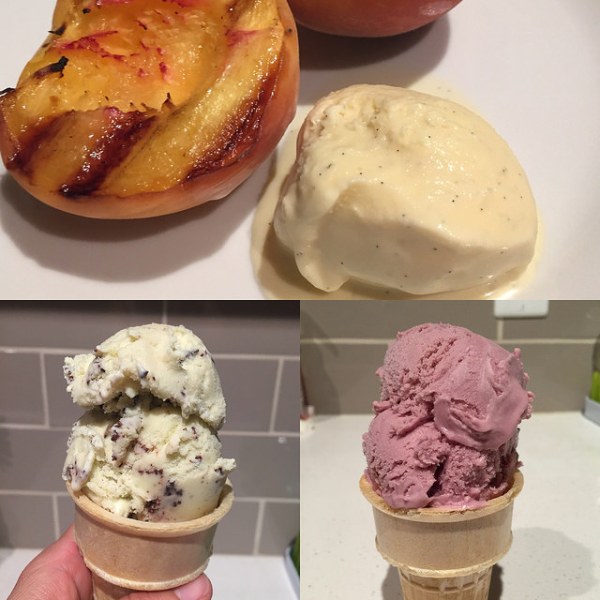
this actually works perfectly because ice cream just may be one of my favorite desserts and we now have an extra freezer, so i can easily keep the freezer bowl for my ice cream maker in the freezer ready to go at all times. since moving to colorado, i’ve made a bunch of different kinds of ice cream from mint chocolate chip and blackberry to vanilla bean and milk chocolate. if you follow me on instagram, you also recently saw that i made some peanut butter oreo ice cream too (recipe coming soon!)

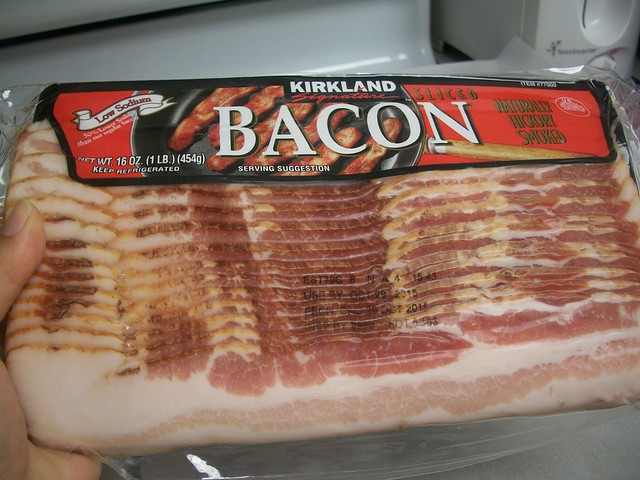
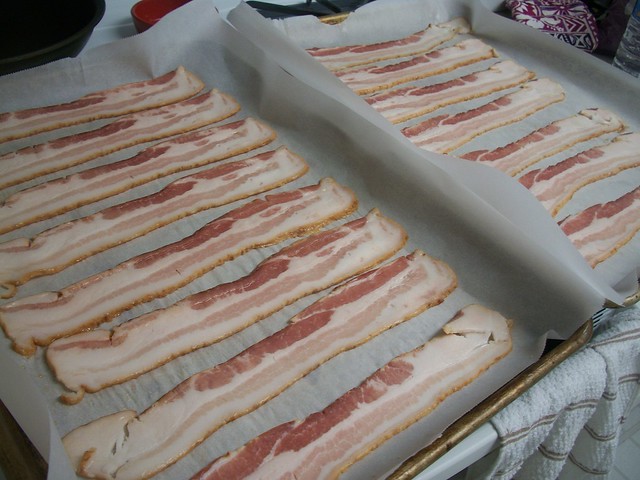
well a few weeks ago, chris and i were brainstorming what my next ice cream experiment would be and he came up with maple bacon! sounds good to me. i ended up combining 2 of david lebovitz’s recipes to make maple ice cream with candied bacon “sprinkles.” oh man this stuff is good!